
Daylilies In L.A.

Daylily Care
Daylilies have become a favorite perennial because they are one of the easiest and most rewarding plants to grow.
Included here are some general guidelines to follow about growing daylilies, however keep in
mind these plants don't really need to be babied. They are tough as well as drought tolerant -which is always important here in Southern
California. Yet, the better they are cared for, the better they will
perform.
WHEN TO PLANT
Because of Southern California's mild climate, there really isn't a wrong time to plant a daylily. With that said, the recommended time to plant for the least amount of stress to the plant, is early fall after the summer heat has declined. Remember to water well during these early days; this will encourage good root growth and give ample time for the plant to establish itself before next summer's heat.
LOCATION
Daylilies thrive in full sun, yet at a minimum they can also take shade for half of the day. Many varieties, especially dark colored flowers, do best if they receive morning sun and are partially shaded during the hot afternoon. Daylilies planted in areas that receive less than 6 hours of sun will most likely produce fewer and smaller blooms, and also the foliage may not be as full. Unfortunately, there are a few cutivars that will fade, wilt or burn if in direct sunlight too long. If this type is planted in filtered sun provided by tall trees, they will thrive and have beautiful flowers all day.
SOIL REQUIREMENTS
Daylilies are extremely hardy and can grow in most soil types. Nevertheless, daylilies don't do well in poorly drained soil. Till hard/clay soil to improve its condition and add lots of organic matter like compost. If drainage is still a problem, plant in well conditioned raised beds. Additionally, soil PH should be either neutral or slightly acid.
PLANTING
Plant daylilies 18 inches to 24 inches apart. Dig holes a few inches wider and deeper than the roots. Make a mound of soil inside the middle of the planting hole, and place the plant with the roots spread around the top of the mound trailing downward. Adjust the height of the mound so that the plant's depth is not deeper than one inch below the soil's surface where the roots and foliage meet -this is the area where the crown is located. The crown is like the heart of the daylily. Planting the crown too deep will adversely effect the plant's vigor. Fill in the remainder of the hole with soil and press in for stability. Water well. Mulches can also be added around daylilies; it aids in water retention and reduces the weed population. However, always keep in mind adding mulch raises the soil's surface, so the mulch should be kept a few inches away from the daylily's base.
You can also check out the video below showing how to plant daylilies.
WATERING
Although daylilies are drought tolerant due to its efficient root system, inadequate irrigation during the production of buds and flowering will cause inferior blooms. Watering is the most important thing you can do to get healthy plants that produce many beautiful blooms. It is therefore especially important to water during the bloom cycle, during dry spells and extreme heat. Generally, watering once a week to a depth of 10 to 12 inches will promote healthy growth and flowering.
FERTILIZING
Daylilies will be more rewarding when fertilized. This can be as simple or complex as you wish. The simplest procedure is to add a six month slow release fertilizer twice a year at the base of the clump. There are also many elaborate and complex procedures as well. Way too many to discuss here fully, however included at the end of this section are a couple of links that have in depth information. Some gardeners for example, use a spray fertilizer, like Miracle Grow, once a week during the six to eight weeks prior to bloom season. Others, concoct their own fertilizer solution using ingredients such as fish emulsion, epsom salt and other valuable nutrients. Choose a system that works best for you; it doesn't matter what procedure you choose -just remember to fertilize -and water, and your daylilies will be healthy and productive.
Linked below are two articles that have valuable fertilizing information.
The Care and Feeding of Daylilies, by Dan Trimmer
Philosophy of Fertilizing, by George Hooker
DIVIDING
Daylily clumps may need dividing every three to five years. Flowering can decline due to overcrowding. Dig up the entire clump and remove as much dirt as possible. Separate fans into divisions of two to six by either pulling or cutting apart with a sharp clean garden knife. Be sure each division has equal root material. It is recommended that new divisions with cuts or open wounds dry before replanting, but it is not usually necessary. If you have leftover divisions, try sharing the excess with others and pass on some garden joy. Sharing will always brighten your day.
Be sure to also watch the video below showing how to divide daylilies.
PROPAGATION
There are a few ways to propagate daylilies and get more bang for your buck. Most often daylilies are propagated by division. They can also be propagated by proliferations which are the offsets obtained from the scape (flower stalk). Cut the scape a few inches below the proliferation after all blooms have been spent. The proliferation can then be planted in soil and kept moist until a root system is established. Or, the proliferation can be placed in a cup with the water level kept to the base of the proliferation until roots form. Then, transplant into soil and keep moist until the new plant is established. Both of these produce clones of the mother plant. However, propagating daylilies by seed will create a completely new daylily with it's own unique characteristics -good or bad, major or minor differences from parent plants.
Adding daylilies to your garden will bring texture, color and movement with little effort. Whether they are in full bloom or showing off its whispy grass flowing in the gentle breeze, the richness in grace and beauty will add excitement to even the most ordinary of landscapes.
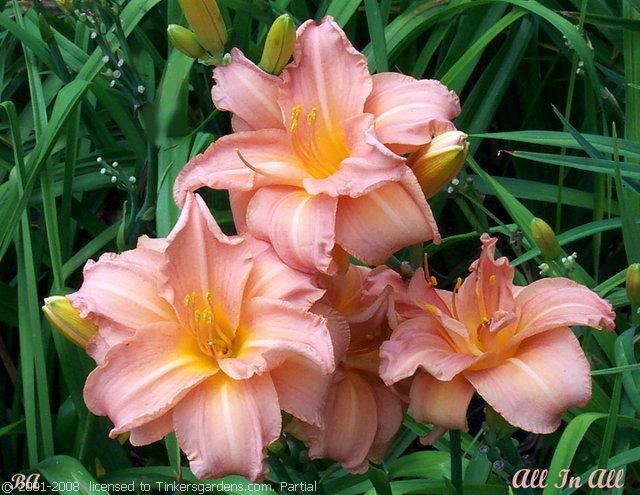
H. "All in All"

H. "Baby Blue Eyes"
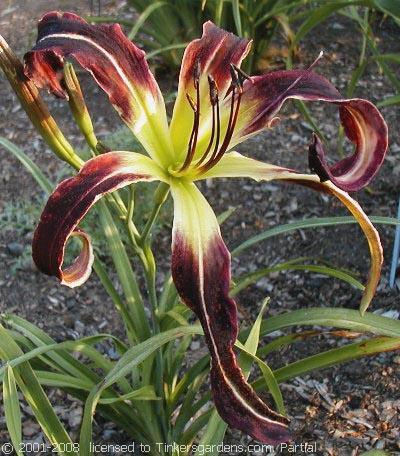
H. "Black Passion"
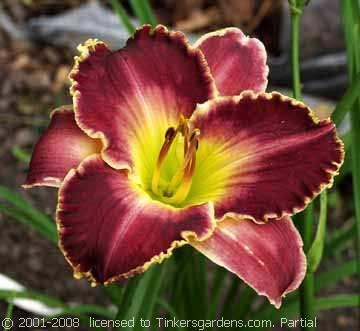
H. "Bohemi After Dark"
H. "Laughing Giraffe"
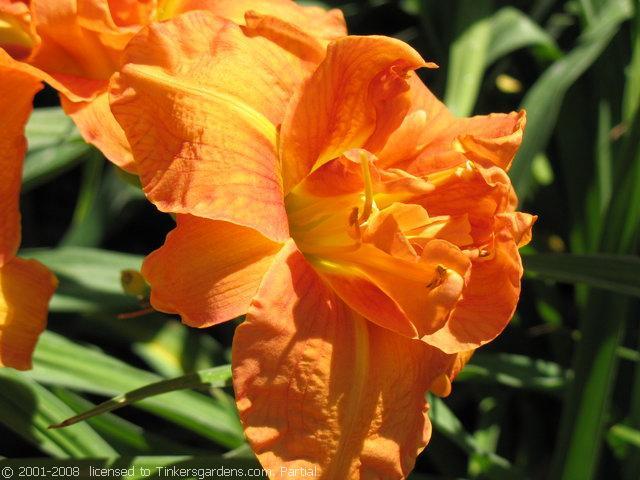
H. "Abbey Lane"
Tinker's Gardens
Photos coutesy of

Copyright © 2008 - '16
DAYLILIES IN L.A.
All Rights Reserved.
.
Free Daylily Forum -a friendly community of daylily enthusiasts for questions and information sharing.
Auction -this is where daylily addicts are created.
Worldwide Hybridizers -see who's who in the world of daylily breeding and their latest creations.
Daylily Database -free search engine for named daylily cultivars with stats and multiple images.
Daylily Database -free official daylily database, also with some images.


Daylily Videos
Daylily Care
Los Angeles. CA
Planting Daylilies
Dividing Daylilies
Daylily Links
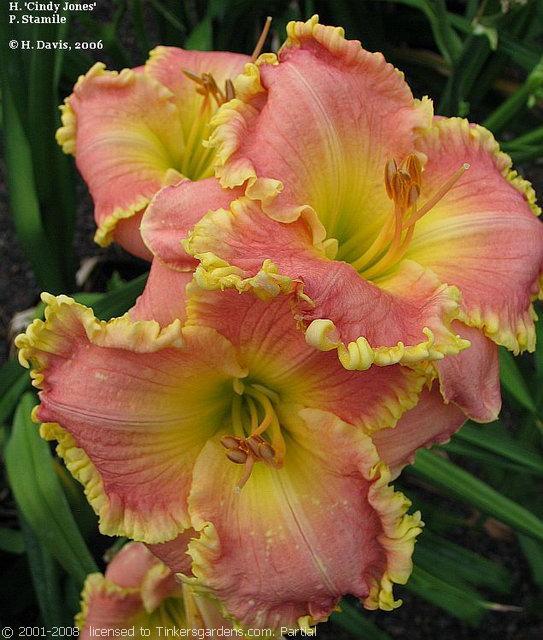
H. "Cindy Jones"

and....
Continue down to also view informational videos
or scroll down farther for links to other interesting daylily sites.
or scroll down farther for links to other interesting daylily sites.

